This is How I Roll: Tips and Tricks to Roll the Perfect Joint
The cannabis industry is on the rise, with states like Alaska, California, Colorado, D.C., Illinois, Maine, Massachusetts, Michigan, Nevada, Oregon, Vermont, and Washington all already having fully legalized marijuana. Many other states have legalized medicinal marijuana, or have at the very least decriminalized it. The only states where cannabis remains fully illegal as of February 2020 are Alabama, Idaho, Kansas, Mississippi, Nebraska, both Carolinas, South Dakota, Tennessee, Wisconsin, and Wyoming. Whether you live in one of the more progressive states, or in one of the states lagging a bit behind, here are some tips to roll with the proverbial punches and roll the perfect joint.
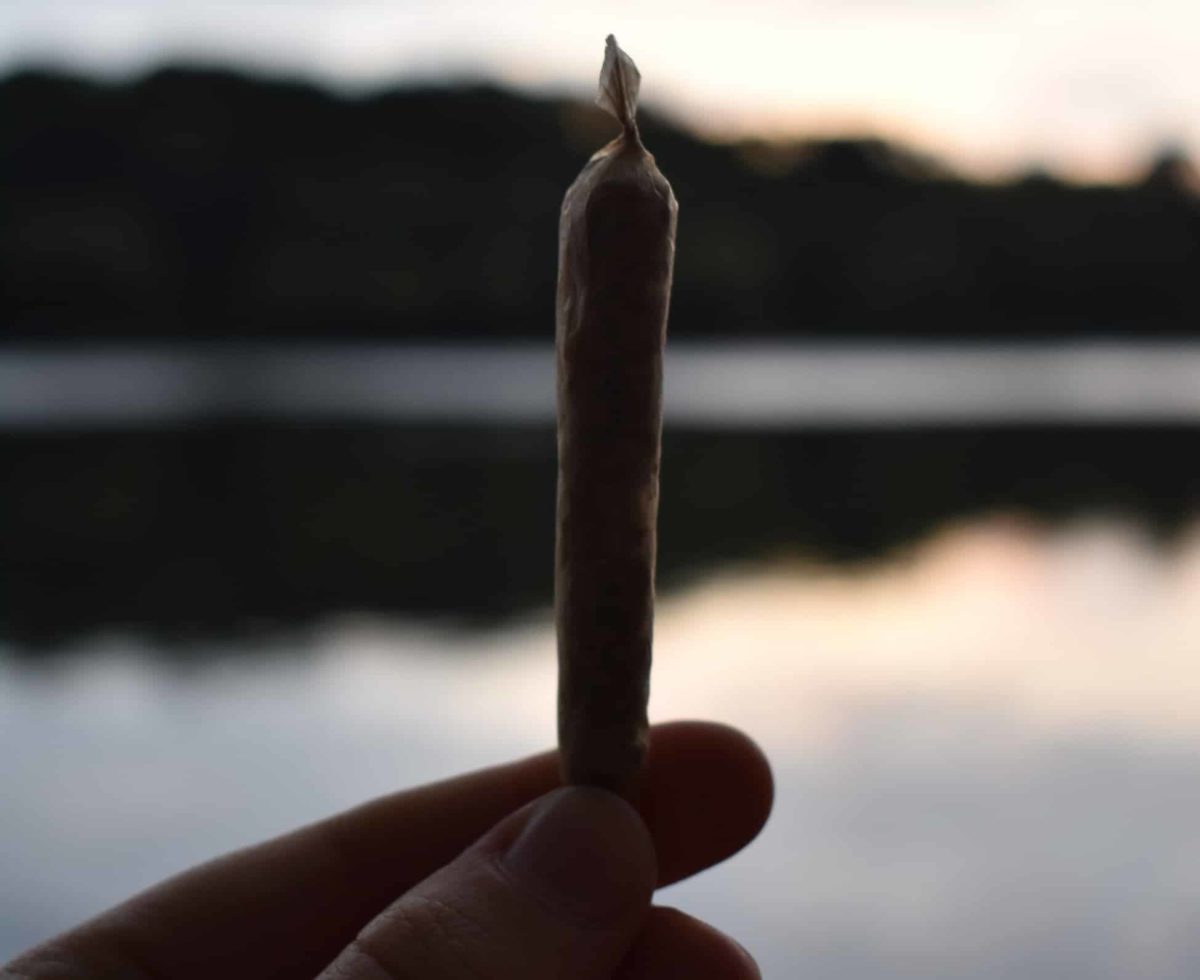
Roll the Perfect Joint
First off, let’s start with a few basic vocabulary terms for those new to the cannabis craze:
- Cannabis: a species of plant, and used as an umbrella term to refer to both marijuana and hemp
- Marijuana: refers to the intoxicating varieties of cannabis
- Hemp: refers to the non-intoxicating cannabis varieties
- Shake: this can refer either to finely-ground cannabis that you’ve ground yourself to fill a joint, or to what are essentially leftovers: smaller pieces of the plant that break off from larger bugs at some point during the handling process. Shake can be purchased, but there is some debate over whether it’s worth the cash.
- Crutch: this is the tip or filter at the end of the joint.
Now, on to the actual process.
Step 1: Gather Your Supplies
In order to roll the perfect joint, you’ll need:
- The cannabis strain of your choice
- Rolling papers
- Crutch
- Cannabis grinder
- If needed: a pen, or similarly shaped object
Step 2: Grind Your Cannabis
You’ll want to use the grinder to avoid the issue of sticky hands, which can make handling the joint paper more difficult. If you don’t have a grinder, however, you can use your hands, scissors, or various other creative methods. If your cannabis is sufficiently dried, breaking it down by most any method should be a snap but a grinder is preferred.
Step 3: Create the Crutch
The joint crutch, or filter, can be made out of just about anything, even business cards! Many joint papers also have crutch materials included in their packaging.
The purpose of the crutch is to add stability to the joint, help you avoid singeing your fingers, and prevent any cannabis from falling from the end of the joint or into your mouth. While not essential, a good crutch is a good foundation for the perfect joint.
To fold the crutch, make a few accordion folds at the end of your chosen material, then roll the material to whatever thickness you’re planning for your joint.
Step 4: Fill the Joint
Place the crutch, if you chose to make one, at the end of your rolling paper. Then, fill the paper with about ½ gram to 1 gram of shake (finely-ground cannabis). Next, use your fingers to begin shaping the joint into the desired shape.
There are many different types of rolling papers available, but a common favorite is papers made from hemp, which are known for both thinness and strength. Hemp papers tend to burn evenly, and without affecting the flavor of the cannabis.
Step 5: Packing Your Joint
In this step, you’ll want to catch the bottom edge of your rolling paper in the cannabis, and roll the paper to secure the cannabis inside. You’ll then pinch the paper between your fingertips and roll it back and forth. This process will pack the cannabis into its final shape.
Step 6: The Final Roll
Besides choosing quality materials, this may be the most important part of the joint-rolling process. Tuck the non-glued side of your rolling paper into the roll. Then, using a small amount of moisture, use the glued edge to tack down one end of the paper. You’ll want to do this on the end of the joint with the crutch first – this can help better guide the rest of the roll. You’ll then continue the rest of the way down the joint, creating a seam to securely seal the cannabis inside.
Step 7: Finish the Joint
This is where that optional pen from the materials list comes in. You can use it to help you better pack the end of your joint so it will burn more evenly overall.
Step 8: Light That Cannabis Joint!
Now, this is definitely the most important part of this process, as it’s where you get to enjoy all your hard work! Once you’re comfortable rolling the perfect joint by conventional means, feel free to experiment! Create your own style, make your cannabis joint your own, and tell your friends: that’s just how I roll.